If you’re a fan of molten chocolate desserts, these Chocolate Lava Cupcakes are about to become your new obsession. With a rich, fudgy exterior and a warm, gooey chocolate center that oozes out with every bite, these cupcakes are pure indulgence. Perfect for special occasions, date nights, or when you’re craving something sweet, they’re surprisingly easy to make and always impress. Let’s dive into how you can whip up these decadent treats at home!
Why You’ll Love Chocolate Lava Cupcakes
- Gooey Chocolate Center: The molten lava core is like a warm hug for your taste buds.
- Quick & Easy: Ready in under 30 minutes with minimal effort.
- Perfectly Portioned: Individual servings make them ideal for sharing—or not!
- Customizable: Top with ice cream, whipped cream, or fresh berries for extra flair.
Ingredients You’ll Need
(Makes 6–8 cupcakes)
For the Cupcakes:
- 1/2 cup (1 stick) unsalted butter, plus more for greasing
- 1 cup semi-sweet chocolate chips (or chopped dark chocolate)
- 1/2 cup granulated sugar
- 2 large eggs
- 2 teaspoons vanilla extract
- 1/4 cup all-purpose flour
- Pinch of salt
Optional Toppings:
- Vanilla ice cream
- Whipped cream
- Fresh raspberries or strawberries
- Powdered sugar (for dusting)
Step-by-Step Instructions
1. Preheat and Prep
- Preheat your oven to 425°F (220°C) .
- Grease a muffin tin or line it with cupcake liners. (For easier removal, use liners and lightly grease them.)
2. Melt the Chocolate and Butter
- In a microwave-safe bowl, combine the butter and chocolate chips.
- Microwave in 30-second intervals, stirring between each, until smooth and fully melted. Set aside to cool slightly.
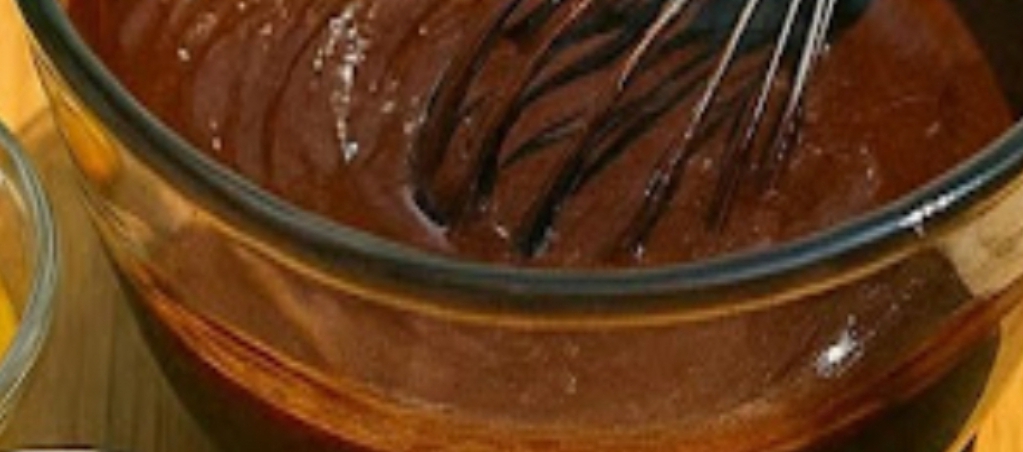
3. Make the Batter
- In a mixing bowl, whisk together the sugar, eggs, and vanilla extract until light and creamy.
- Gradually stir in the melted chocolate mixture until well combined.
- Sift in the flour and salt, then gently fold until just incorporated. Be careful not to overmix.
4. Fill the Muffin Tin
- Divide the batter evenly among the prepared muffin cups, filling each about 2/3 full.
- For an extra-gooey center, drop a small spoonful (about 1 teaspoon) of chocolate chips into the center of each cupcake, pressing it slightly into the batter.
5. Bake
- Bake for 8–10 minutes , or until the edges are set but the centers are still soft and jiggly. (The key to the lava effect is not overbaking!)
- Remove from the oven and let the cupcakes cool in the pan for 1–2 minutes.
6. Serve and Enjoy
- Carefully transfer the cupcakes to serving plates.
- Dust with powdered sugar, top with vanilla ice cream or whipped cream, and garnish with fresh berries if desired.
- Serve warm and enjoy the gooey, chocolatey goodness!
Tips for Success
- Use High-Quality Chocolate: The better the chocolate, the richer the flavor of your lava center.
- Don’t Overbake: The centers should remain soft and melty. If you’re unsure, err on the side of underbaking.
- Make Ahead: Prepare the batter up to a day in advance, cover, and refrigerate. Bring it to room temperature before baking.
- Freeze for Later: Unbaked cupcakes can be frozen in a muffin tin, then transferred to a freezer bag. Bake from frozen, adding 1–2 minutes to the cooking time.
Why This Recipe Works
These Chocolate Lava Cupcakes rely on a simple yet genius technique: a quick bake time ensures the edges set while the center remains molten and gooey. The combination of melted chocolate, butter, and eggs creates a luscious batter that bakes into a perfectly crisp exterior with a warm, flowing core. Whether served plain or dressed up with toppings, these cupcakes deliver an unforgettable chocolate experience.
Conclusion: A Dessert That’s Pure Magic
Whether you’re celebrating a special occasion, hosting a dinner party, or simply treating yourself, these Chocolate Lava Cupcakes are sure to impress. Their gooey centers, rich chocolate flavor, and elegant presentation make them a standout dessert that’s as fun to share as it is to eat. Plus, their simplicity means you can whip them up even on the busiest days.
We’d love to see your creations! Tag us in your photos or share your favorite variations—your take on these decadent cupcakes might just inspire others to try them too!